Fina paneler och enkla att sätta upp.
Snabb leverans och bra kvalitet.
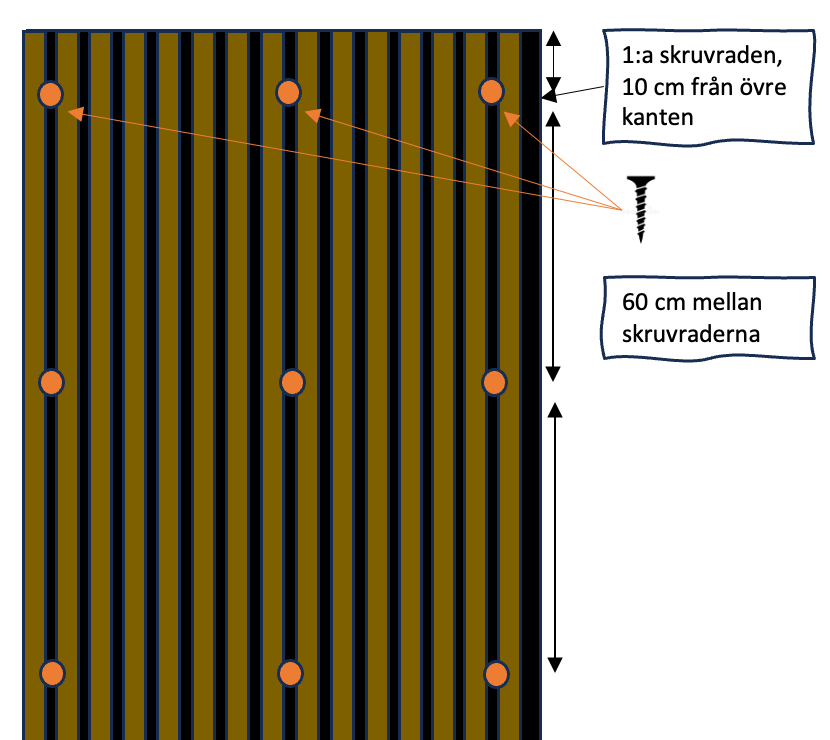
Gjorde ett stort lyft som fondvägg.
Svarta krokar som försvinner i väggen. Väldigt snygga.
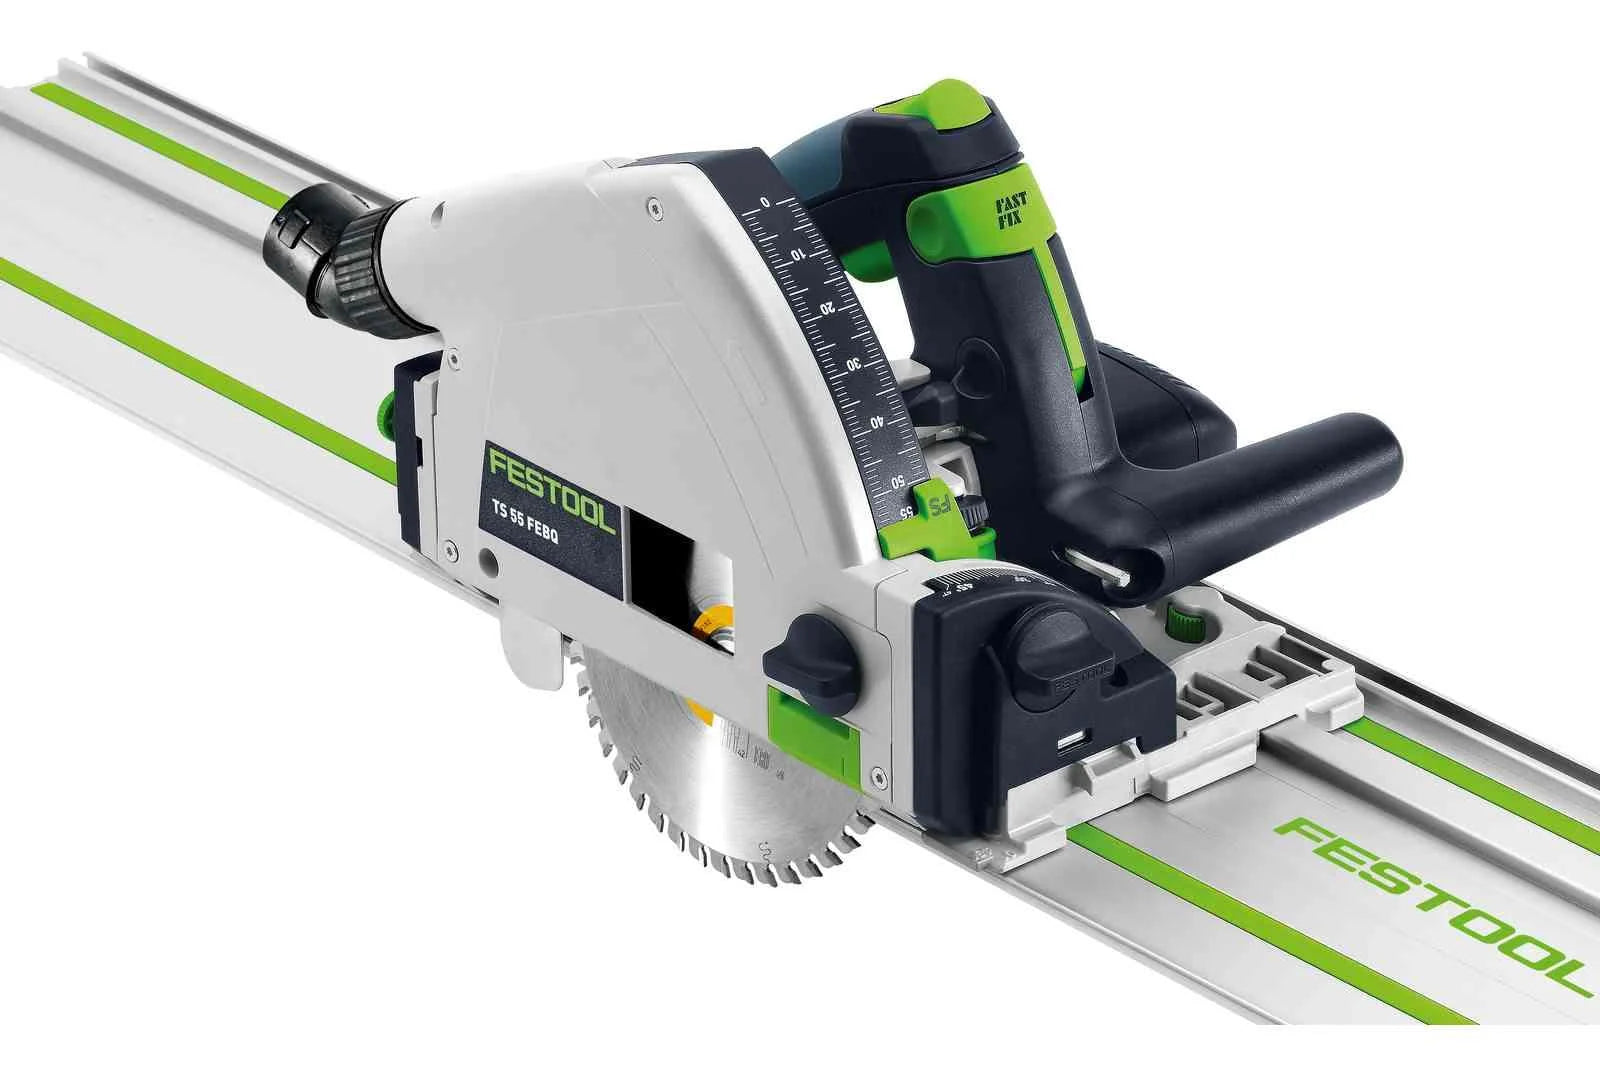
Väldigt bra paneler. Fina kanter. Lätta att såga i, blir inte mycket svart damm.
Hej Thomas!
Vad roligt att höra att ni är nöjd med våra akustikpaneler. Tack för er fina recension och välkommen tillbaka!
Bästa hälsnignar
Dina vänner på Indoor Wood
Alldeles utmärkt akustikpanel. Enkel att sätta upp och det ser mycket bra ut.
Bra pris, snabb leverans.
Hej Thomas,
Tack för er recension! Vad roligt att ni är nöjd med akustikpanelen och att ni uppskattar både kvalitet och service.
Tack för att ni valde att handla med oss,
Glada hälsnignar
Dina vänner på Indoor Wood
Akustikpanel PREMIUM Ljus Ek
Hej Kristina!
Tack för att ni tagit er tid att recensera oss, och tack för era fem stjärnor. Det betyder mycket.
Bästa hälsningar
Dina vänner på Indoor Wood